 Buffalo Rumblings
Last time I showed off my friend’s work and gave some teasers of what we still have in store. This stage represents a major milestone for the project as it was the most significant mechanical build.
Between shaping and assembly, this was by far the most “smithing” part of the journey. It’s not that other things didn’t require work, it’s that…
Well, you’ll see.
The last time you saw the overall armor, it was nothing more than the four base plates from this picture.
It looks cool stacked, but it’s not together. I also mentioned that the plan isn’t actually four pieces, it’s six. I added two extra layers to the top piece to add more depth and allow for something you’ll see in just a moment. The next step on the journey before assembly was trimming. It’s easier to see from the backside, but originally the edges didn’t form very straight lines. A good set of kitchen shears helped get them back in line, and some sanding helped things out even more.
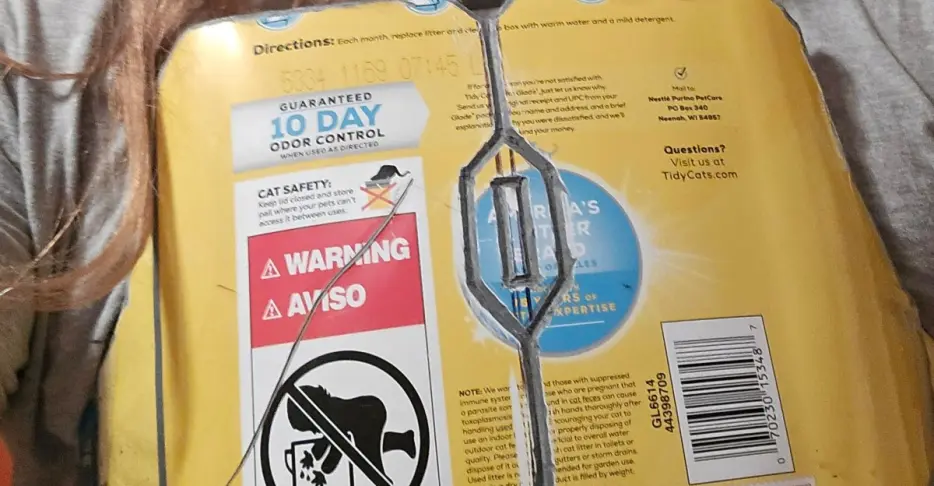
Kitchen shears and sanding were good for the single sheets of plastic, but for the triple layer top piece, I wanted them to match up pretty well and kitchen shears ain’t going through three layers of polypropylene (PP) from a cat litter bucket.
Before taking more drastic measures, I joined the three layers of the top plate using a specialized glue made for PP. The glue, while strong, really isn’t made for joining pieces of this size. So what I did was glue the center stripe between each layer to hold it together for the next steps. This is sort of like pinning while sewing. It prevents things from shifting, but isn’t the final method of joining.
Once they were “pinned” with glue, it was time to get the edges even. For that, we had our first foray into power tools.
Now that I had even edges for the triple layers of the top plate, I needed to find a way to permanently join them. Not-so-spoiler alert, but I used rivets as promised for a primary mechanical method. With that in mind, this might be a very weird following sentence: While I wanted the top of the breastplate to be three layers thick, I didn’t want it to look like it was three layers. That meant I needed to join the edges.
If for whatever reason you wanted to try this (and you shouldn’t), make sure you have a mask and a ventilated area for this. PP can be welded together, but you’ll need patience. A lot of patience. In the picture above you can see on the left the area that was welded together, and my clamping to the right for areas that still need it. You can see that the saw chewed up the edges, but that’s okay because it left smaller bits that helped with the welding step. You can also see that the welded area developed a crack and...